Last Updated on December 12, 2022
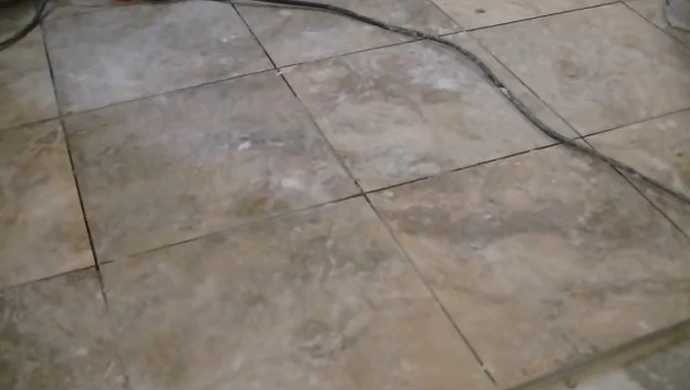
An uneven tile shower floor can raise a number of issues on the bathroom floor, such as water seepage, mold growth, and decreased functionality. And some safety hazards, especially in the shower, where water and soap can make them extra slippery.
When installing tile on your shower floor to fix it, the important factor is to get the floor as level as possible and also try matching your backsplash tile design.
This is a time consuming task, and it might seem impossible to get the shower floor tile perfectly aligned. This article explains how to fix uneven tile shower floor.
With our guide, you can fix it in no time without any hassle or stress. Today, we will share with you nine methods for fixing a tile shower floor that is uneven:
How to Fix Uneven Tile Shower Floor : DIY Methods

There are a few methods that you can use to fix an unlevel tile shower floor; some of them will require special tools, while others need only items that are probably already in your home. Choose the method that best suits your needs, time frame, and skill level:
Method 01: Remove the Old Thinset
One of the most common causes of an uneven shower floor is an old thin set that has become crumbly and loose. In order to fix the problem, remove all of the old thinset before you can apply the new one and level the floor. Over time, these can become brittle and crack, causing tiles to become loose and move around.
Here are the steps to properly remove an old thinset from a shower pan: First, using a putty knife or trowel, score the surface of the thinset in a crosshatch pattern.
This will help the thinset to break up more easily. Next, using a hammer and chisel or a rotary tool with a masonry bit, begin chipping away at the scored top layer of the thinset.
Method 02: Use a Notched Trowel
When removing the old thinset to complete uneven shower tile installation use a notched trowel. This can spread the mortar more evenly on the back of the tile and provide more suction against the mortar, which will keep the tile in place.
These notches help the thinset grip both the tile and the substrate, providing a stronger bond. Finally, create a more uniform appearance for the finished product.
Start with removing any dirt. Next, insert the blade of the trowel into the thinset and make sure that the teeth are engaging with the material. Apply pressure to the handle of the trowel and move it back and forth to remove the thinset.
Method 03: Add More Mortar and Grout
The notched trowel leaves behind small air pockets. By adding extra mortar and grout, we can fill in these pockets and create a stronger bond between the tiles and the surrounding surface.
Aside from that, this will help prevent water from getting through any cracks or gaps and causing further trouble. Make sure the surface is clean and dry.
Then apply a thin layer of mortar over the area where the existing tile is uneven. Use a putty knife or other similar tool to spread the mortar evenly.
Next, press the tiles into place, so they are level with the surrounding tiles. Put a layer of grout over the entire surface of the shower base. Allow the grout joints to set for some hours before using the shower.
Method 04: Use a Leveling Compound or Epoxy Adhesive

A material such as filling cement or epoxy glue is needed on uneven shower tile floors in order to provide a smooth, even surface. Any leveling compound fills gaps in tile joints and the underlying substrate, creating a seamless, level surface. On top of that, the adhesive helps to prevent water from seeping behind the tiles and causing mold or mildew to grow.
Method 05: Remove Tiles and Start Over
There are a few reasons why removing tiles and starting over is often the best option. Primarily, it allows for inspection of the underlying structure and makes sure that there is no deterioration.
Then, give a chance to level the surface before you lay a new tile. And it ensures that your new tile will be level with the rest of the shower. Remove the old tile by chipping away. Level it off so that your new tiles will lay evenly.
Method 06: Fill Gaps With Caulk
One reason is to fill gaps with caulk in order to waterproof the area. This is important as water can quickly cause problems. Caulk is also used to keep mold and mildew from growing in the cracks.
The right way to fill gaps is using a caulk by applying siliconized acrylic latex caulk. Clean the area with a household cleaner and a scrub brush. Once the area is clean, use a caulking gun to apply the caulk to the gap.
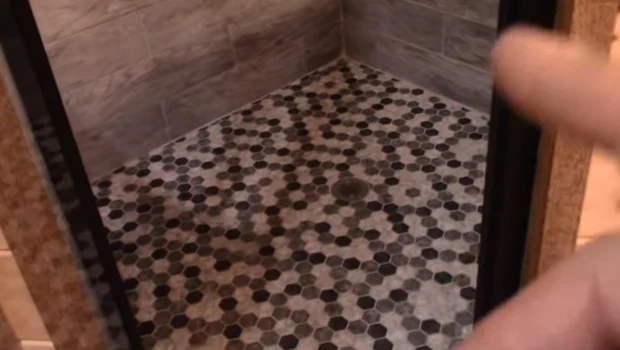
Method 07: Use a Shower Pan
Provide a barrier between the tile and the underlying foundation with a shower pan to prevent water damage. It will also keep the tile evenly spaced and level, which can be difficult to do with an uneven floor.
A shower pan will help to prevent mold and mildew growth by providing good drainage and keeping the area around the tile dry. Overall, using a shower pan is an essential part of properly installing a new tile shower.
Method 08: Add an Expansion Joint
Expansion joints help to alleviate uneven tile shower floors by providing a space for the tiles to move independently of each other. This movement helps to distribute stress evenly across the floor, preventing the tiles from cracking or breaking.
The grout joints should be placed along the line of the ceramic tile in order to avoid any visible seams. Finally, the expansion joint should be filled with a flexible sealant in order to create a watertight seal.
Method 09: Use a Self-Leveling Underlayment Compound
Before using self-leveling underlayment, apply a water-based primer with a paint roller. After the primer has dried, mix and pour the underlayment into the low areas of your shower floor.
Immediately start working on leveling and smoothing out the compound because it starts setting fast. The underlying compound fills up gaps and cracks, creating a smooth surface for the tiles to ensure a smooth and even floor tile.
FAQs ( Frequently Asked Questions )
While the following questions may seem basic, they are often important ones for customers and employees. This is why it is so important, and we kept a list of (FAQs) on hand:
1. What Causes an Uneven Shower Floor?
There are several reasons why a shower floor might be uneven. One reason is that the foundation itself is not level. The foundation can settle over time, causing the floors to become uneven.
Another reason for an uneven shower floor is that the subflooring is not level. Most of the time-poor installation causes this. Finally, tiles can become uneven if they are not installed properly. Incorrect installation can cause the tiles to crack or break, which will create an uneven surface.
2. How Do You Level a Shower Floor Before Tiling?
If the shower pan is not level, shimming may be required to even it out. Check for low spots by holding a couple of feet or longer levels across the floor in both directions.
Make a mark at each end of any dips on the floor. To calculate how much self-leveling compound you’ll need, measure the distance between the highest and lowest marks.
3. How Do You Make a Small Shower Floor Look Bigger?
There are several ways of making a small shower floor appear larger. One way is to use light-colored tiles. Light colors make a space feel more open and airy. Another way is to use large tiles.
Large tiles give the illusion of more space. You can use a mosaic tile pattern. This will create movement and interest, making the space feel bigger than it is. Lastly, you can use a glass shower door instead of a shower curtain. Glass makes the space feel more open and airy.
4. How Do You Keep Your Shower Floor from Getting Dirty?
You can take several steps to prevent the floor of your shower from getting dirty. One way is to use a shower mat. A shower mat will help to catch any dirt or debris that is brought into the shower.
Clean the shower floor periodically by using a squeegee. This will help to remove any soap scum or water spots that might be left behind. Finally, it is important to clean your shower floor on a regular basis. This can be done with a mild soap and water solution.
Conclusion
By following the methods outlined above in the article, you can effectively and successfully level out your shower floor and enjoy an extended period of trouble-free use. Whether you choose to use shims, caulk, or a self-leveling compound, the important thing is to take the time to do the job right.
With a little effort, you can have a beautiful, even shower floor. So do not wait; get started today. Feel free to leave any questions or comments below. Thank you for your support and for taking the time to read this article.
A Related Topic:
- When should I clean my vinyl floor in the shower?
- Should You Use Glue to Join Wood and Tile?
- How effective is a pumice stone for removing white film from tiles and grout in a shower?
- Is it easy to cut curves in mosaic glass tiles?
- What do you look for when choosing tile combinations?
I had a new shower installed and they used the old bathtub drain. They made it a 3” but left the drain on one side of a large shower. The problem, water pools in the center where they left the floor uneven. Our contractor has already paid the guys and is already losing money on our job. Is there anything we can do without ripping all the floor out and replacing it?
Actually, it does not have any other option then ripping the floor out and replacing it.
But you do not have to rip off the entire floor. Just work on half side of the floor where the water stores.