Last Updated on November 12, 2022
One of the primary issues with a large door frame is that it can be inconvenient to find doors that fit properly. The door may need to be custom-made, which can be both time-consuming and expensive.
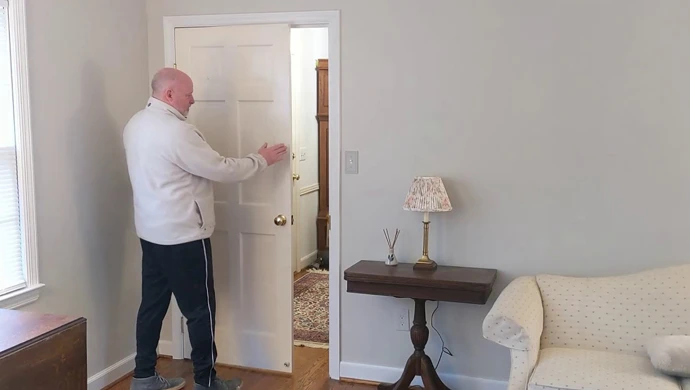
When your door frame is too large, it can make your home feel less cozy and welcoming. It can also be a safety hazard, as a larger door frame is more likely to allow intruders into your home.
If you are hoping to make it smaller, there is no need to worry. We will show you the steps to make a door frame smaller to assist you in trimming down your current door frame so it’s the correct size for your home. Follow our simple steps, and you’ll be able to reduce the size of its frame in no time.
Steps on How to Make a Door Frame Smaller

Trimming a door frame down to size is a relatively straightforward process that anyone can do. All you need is a saw and a few other tools. With a few simple tools and some basic carpentry skills, you can easily adjust your door frame size.
Equipment:
- A pry bar
- Sandpaper
- Paint or stain
- A drill
- Screws
- Nails
- Glue (optional)
- Caulk
- Hardware (optional)
Instruction:
Step 1: Measuring the Door Frame
You will need to know the exact dimensions of the door frame so you can determine how much smaller you need to make it. First, measure the width. Then, measure the height between the top of the frame to the bottom.
Once you have the measurements, mark off the area that needs to be removed with a pencil or chalk. Make sure to double-check the measurements before you make any cuts.
Step 2: Removing the Door Frame
Start by using a power saw to make cuts along the top, bottom, and side frames. Be careful not to damage the surrounding area as you make your cuts. Once the frame is cut away from the wall, you can start removing it piece by piece.
Begin by cutting the vertical pieces or “stiles” first, then move on to the horizontal pieces or “rails.” If there is any trim or molding on your doorframe, be sure to remove this before you can make any cuts. Use a pry bar to remove the trim pieces gently.
Step 3: Sanding the Door Frame
Sand, the area with coarse-grit sandpaper, starting with coarse, then moving on to finer grits until it is smooth. Be sure to vacuum up any grain that is created during the sanding process.
It will also help to create an even and smooth surface by keeping the area clean and free of trash. Once you have finished sanding, you can start to paint or stain the internal door frame.
Step 4: Painting or Staining the Door Frame
If the door frame is made of wood, staining may be the best option to bring out the wood’s natural grain. On the other hand, painting may be a better option for frames made of steel or another type of metal. In either case, it is essential to thoroughly clean the door frame before applying any paint or stain.
Once it’s clean and dry, you can start painting or staining. For best results, be sure to follow the manufacturer’s instructions for application and drying times.
Step 5: Reattaching the Door Frame
After it’s dry, you’ll need to reattach it to the door. There are a few different ways to reattach a door frame, depending on the frame type and the opening size. For most door frames, the simplest way to reattach the frame is to use screws and nails.
First, use a drill to create pilot holes in the wall at the top and bottom of the door opening. Then, use screws to secure both sides of the plates against the wall. Finally, use nails to secure the sides of the frame. If the doorframe consists of wood, you may also want to use glue to help hold it in place.
Step 6: Adding Trim or Molding
It’s time to reattach the trim and molding around the door frame. First, measure the door frame and cut the trim or molding to size. Next, use a hammer and nails to attach molding or trim to its frame.
Be sure to use enough nails so that trim is securely attached. Finally, caulk any gaps between your molding and the door frame. Once the caulk has dried, your framing will be ready to add doors and be installed.
Step 7: Adding a Door
Once your frame is installed, you can add your new door with some simple door accessories. First, measure your opening to determine the size of doors you will need. Then, use a saw to cut the door to size. Use a sharp blade so that you get a clean cut. Once it is cut to size, you can install it in the door opening.
To do this, first, position the new door in the opening. Then, drill pilot holes through the door. Next, use screws to attach the door to the frame. Finally, add any hardware, such as a doorknob or handle that you want to use. With these simple steps, you can easily add a standard door to even the most oddly-sized doorway.
Installing a door frame is a simple way to add doors to any room in your home. By following these instructions, you can easily make a door frame smaller to fit any size doorway. With a little time and effort, you can install a standard door frame quickly.
Cautionary Tips for Making a Door Frame Smaller
While a smaller door frame can be an attractive way to make a doorway appear more scaled-down and homey, there are a few things to keep in mind before undertaking this type of project.
- If you are removing an old door frame, be sure to wear gloves and eye protection as there may be sharp edges.
- Be sure to measure the door opening before cutting the door frame to size. You don’t want the doorframe to be too small or too large for the opening.
- If you are cutting away any existing framing, use a saw designed for cutting wood, such as a handsaw or circular saw.
- When attaching the new door frame, use galvanized nails or screws to prevent rusting.
- Be sure to caulk around the perimeter of the door frame to create a seal and prevent drafts.
- If you are painting the door frame, use high-quality paint designed for exterior use. This will help protect against weather damage.
Final Thoughts
Now that you know how to make a door frame smaller, you can use this knowledge to improve the look of your home. If you have an old door that is too large for your current space, you can use these techniques to make it fit.
You can also use these methods to create a new door frame that is the perfect size for your needs. Whether you are looking to improve the aesthetic of your home or make it more functional, these tips will help you get the job done.
You Might be Interested: